eMail VOICELink provides you with the ability to include both text and graphics (pictures) with your voice message. This capability is enabled through Whiteboard templates. eMail VOICELink comes with a variety of Whiteboard templates. Some templates include pre-selected graphics and text, while others allow you to enter your own text message and choose your own clip art.
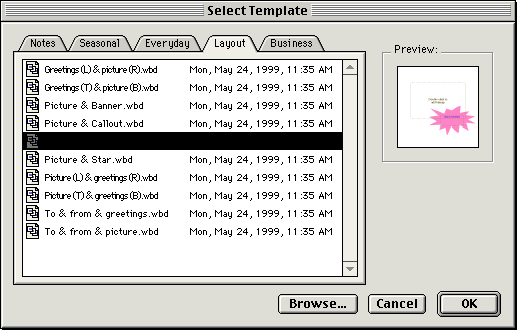
The Select Template dialog box appears when you have selected the graphics option on the main window and then clicked Record Message . Follow these steps to select a template.

You can identify templates that allow you to add your own text message or clip art image by the dashed text or bitmap boxes.
If the Whiteboard template you have selected includes a text box, you can enter a message by first clicking the box and then typing. The text boxes have the following restrictions:
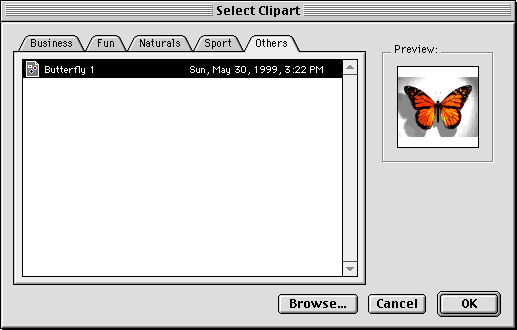
If the Whiteboard template you have selected includes a bitmap box, you can add a graphic by double-clicking the box. This causes the Select Clipart dialog box to open. This dialog box features tabbed categories of clip art. Follow these step to select clip art:
